Why overcast is best for 3D scanning
Why overcast days provide the best lighting for 3D scanning, and how we work around this using technology.
15/09/2026
By Matthew Hilton

The final step in the DirtScan process is texturing. This is where you “apply the paint”, so to speak, to the 3D model. This makes it look like an actual thing, rather than just a white blob.
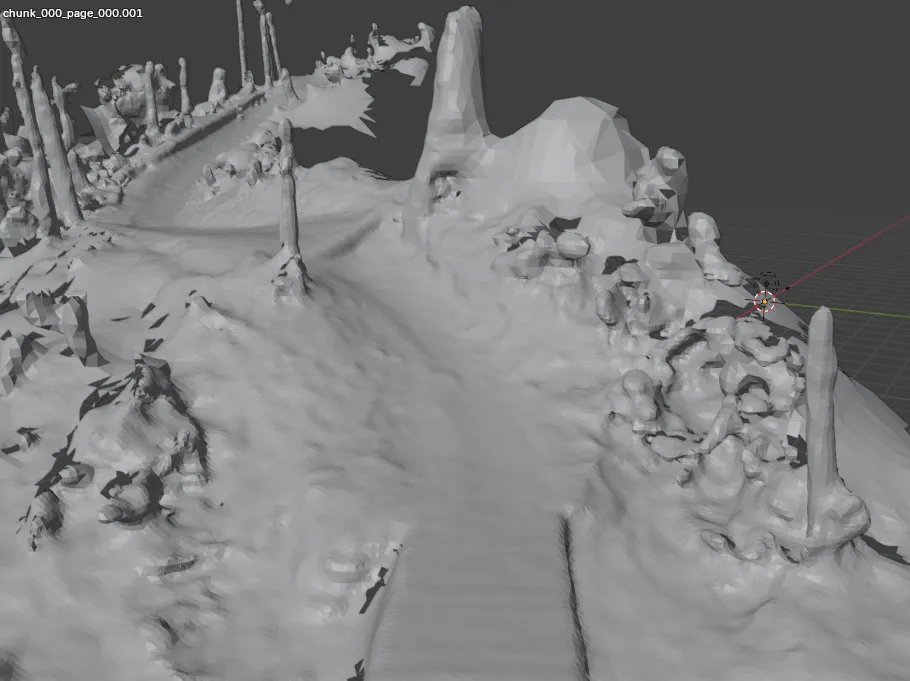
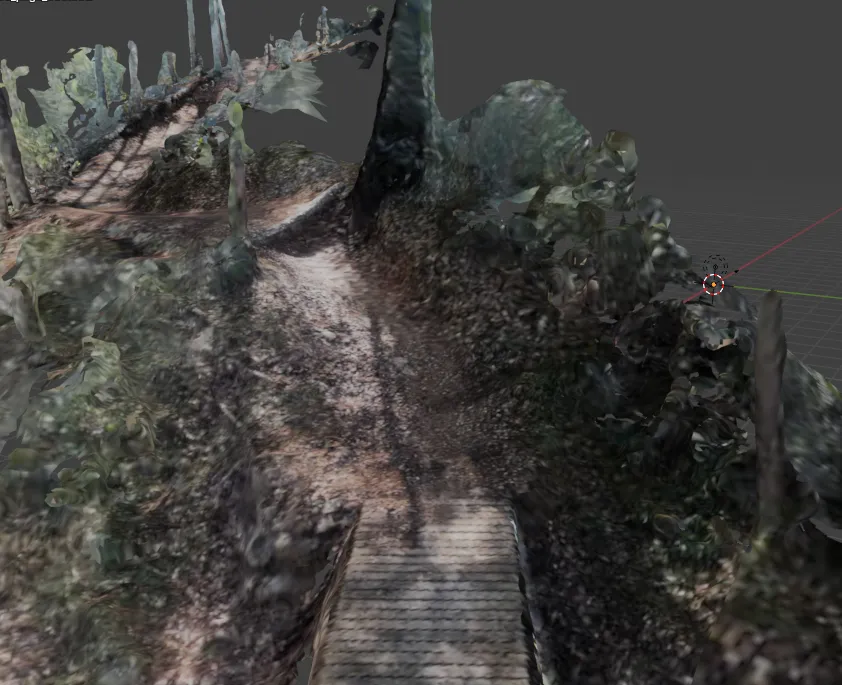
But there is one pesky thing about texturing: shadows.
Why shadows are a pain
Textures come from the images, and so if the images have strong shadows, or lens flare in them, then so will the model.
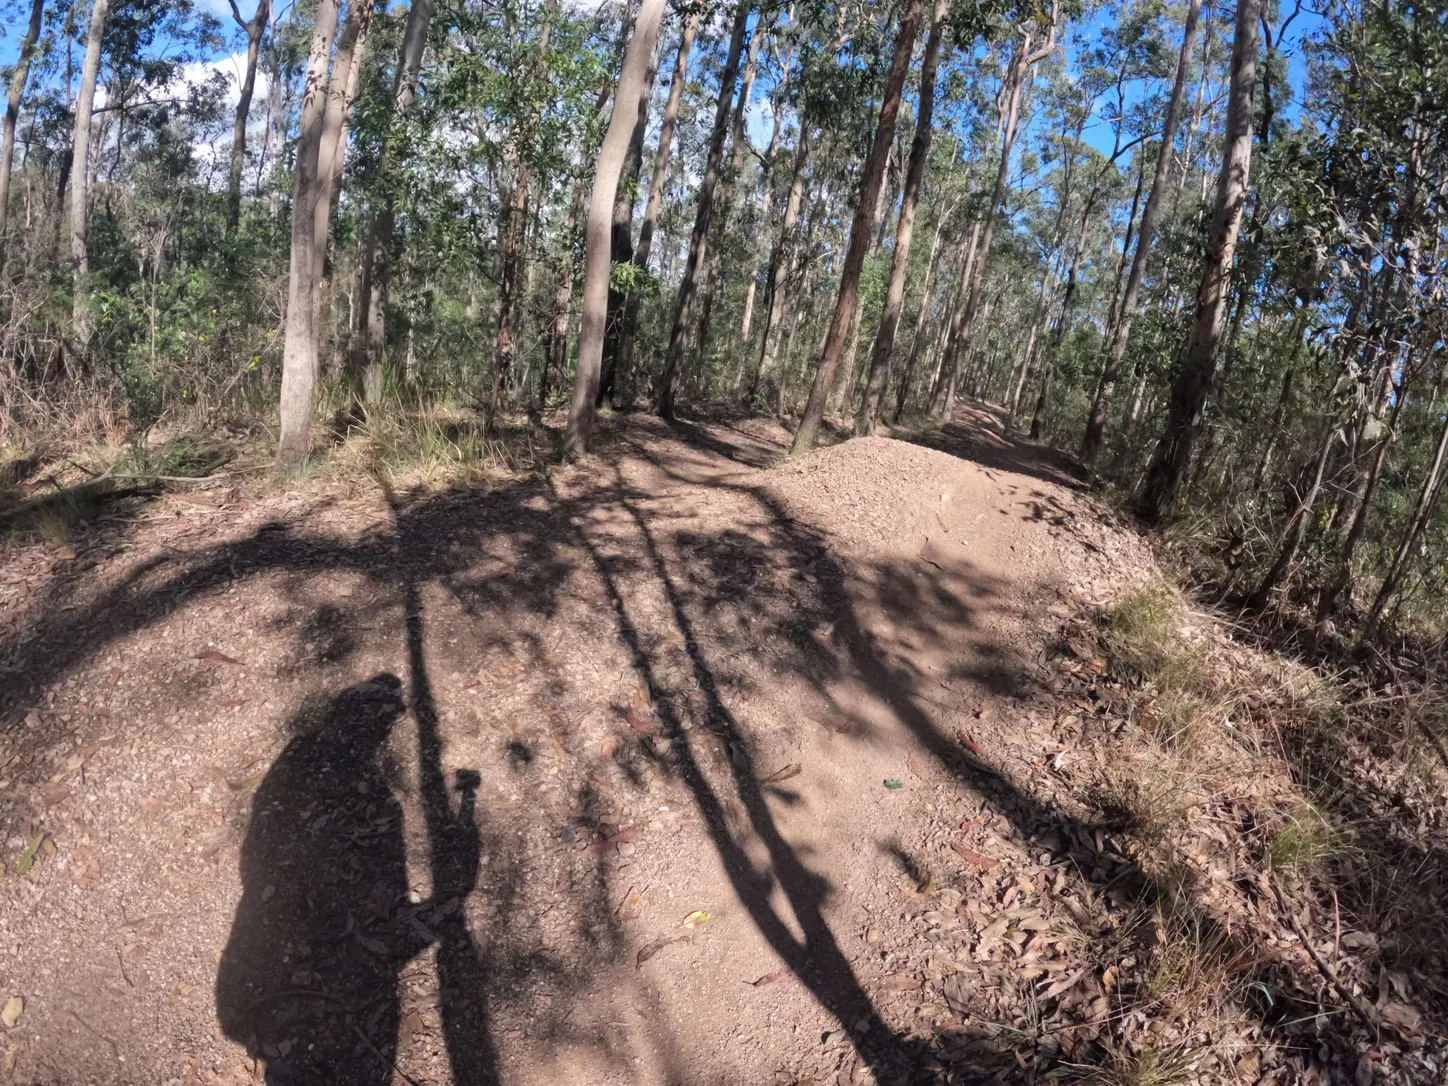
Take this image for example:
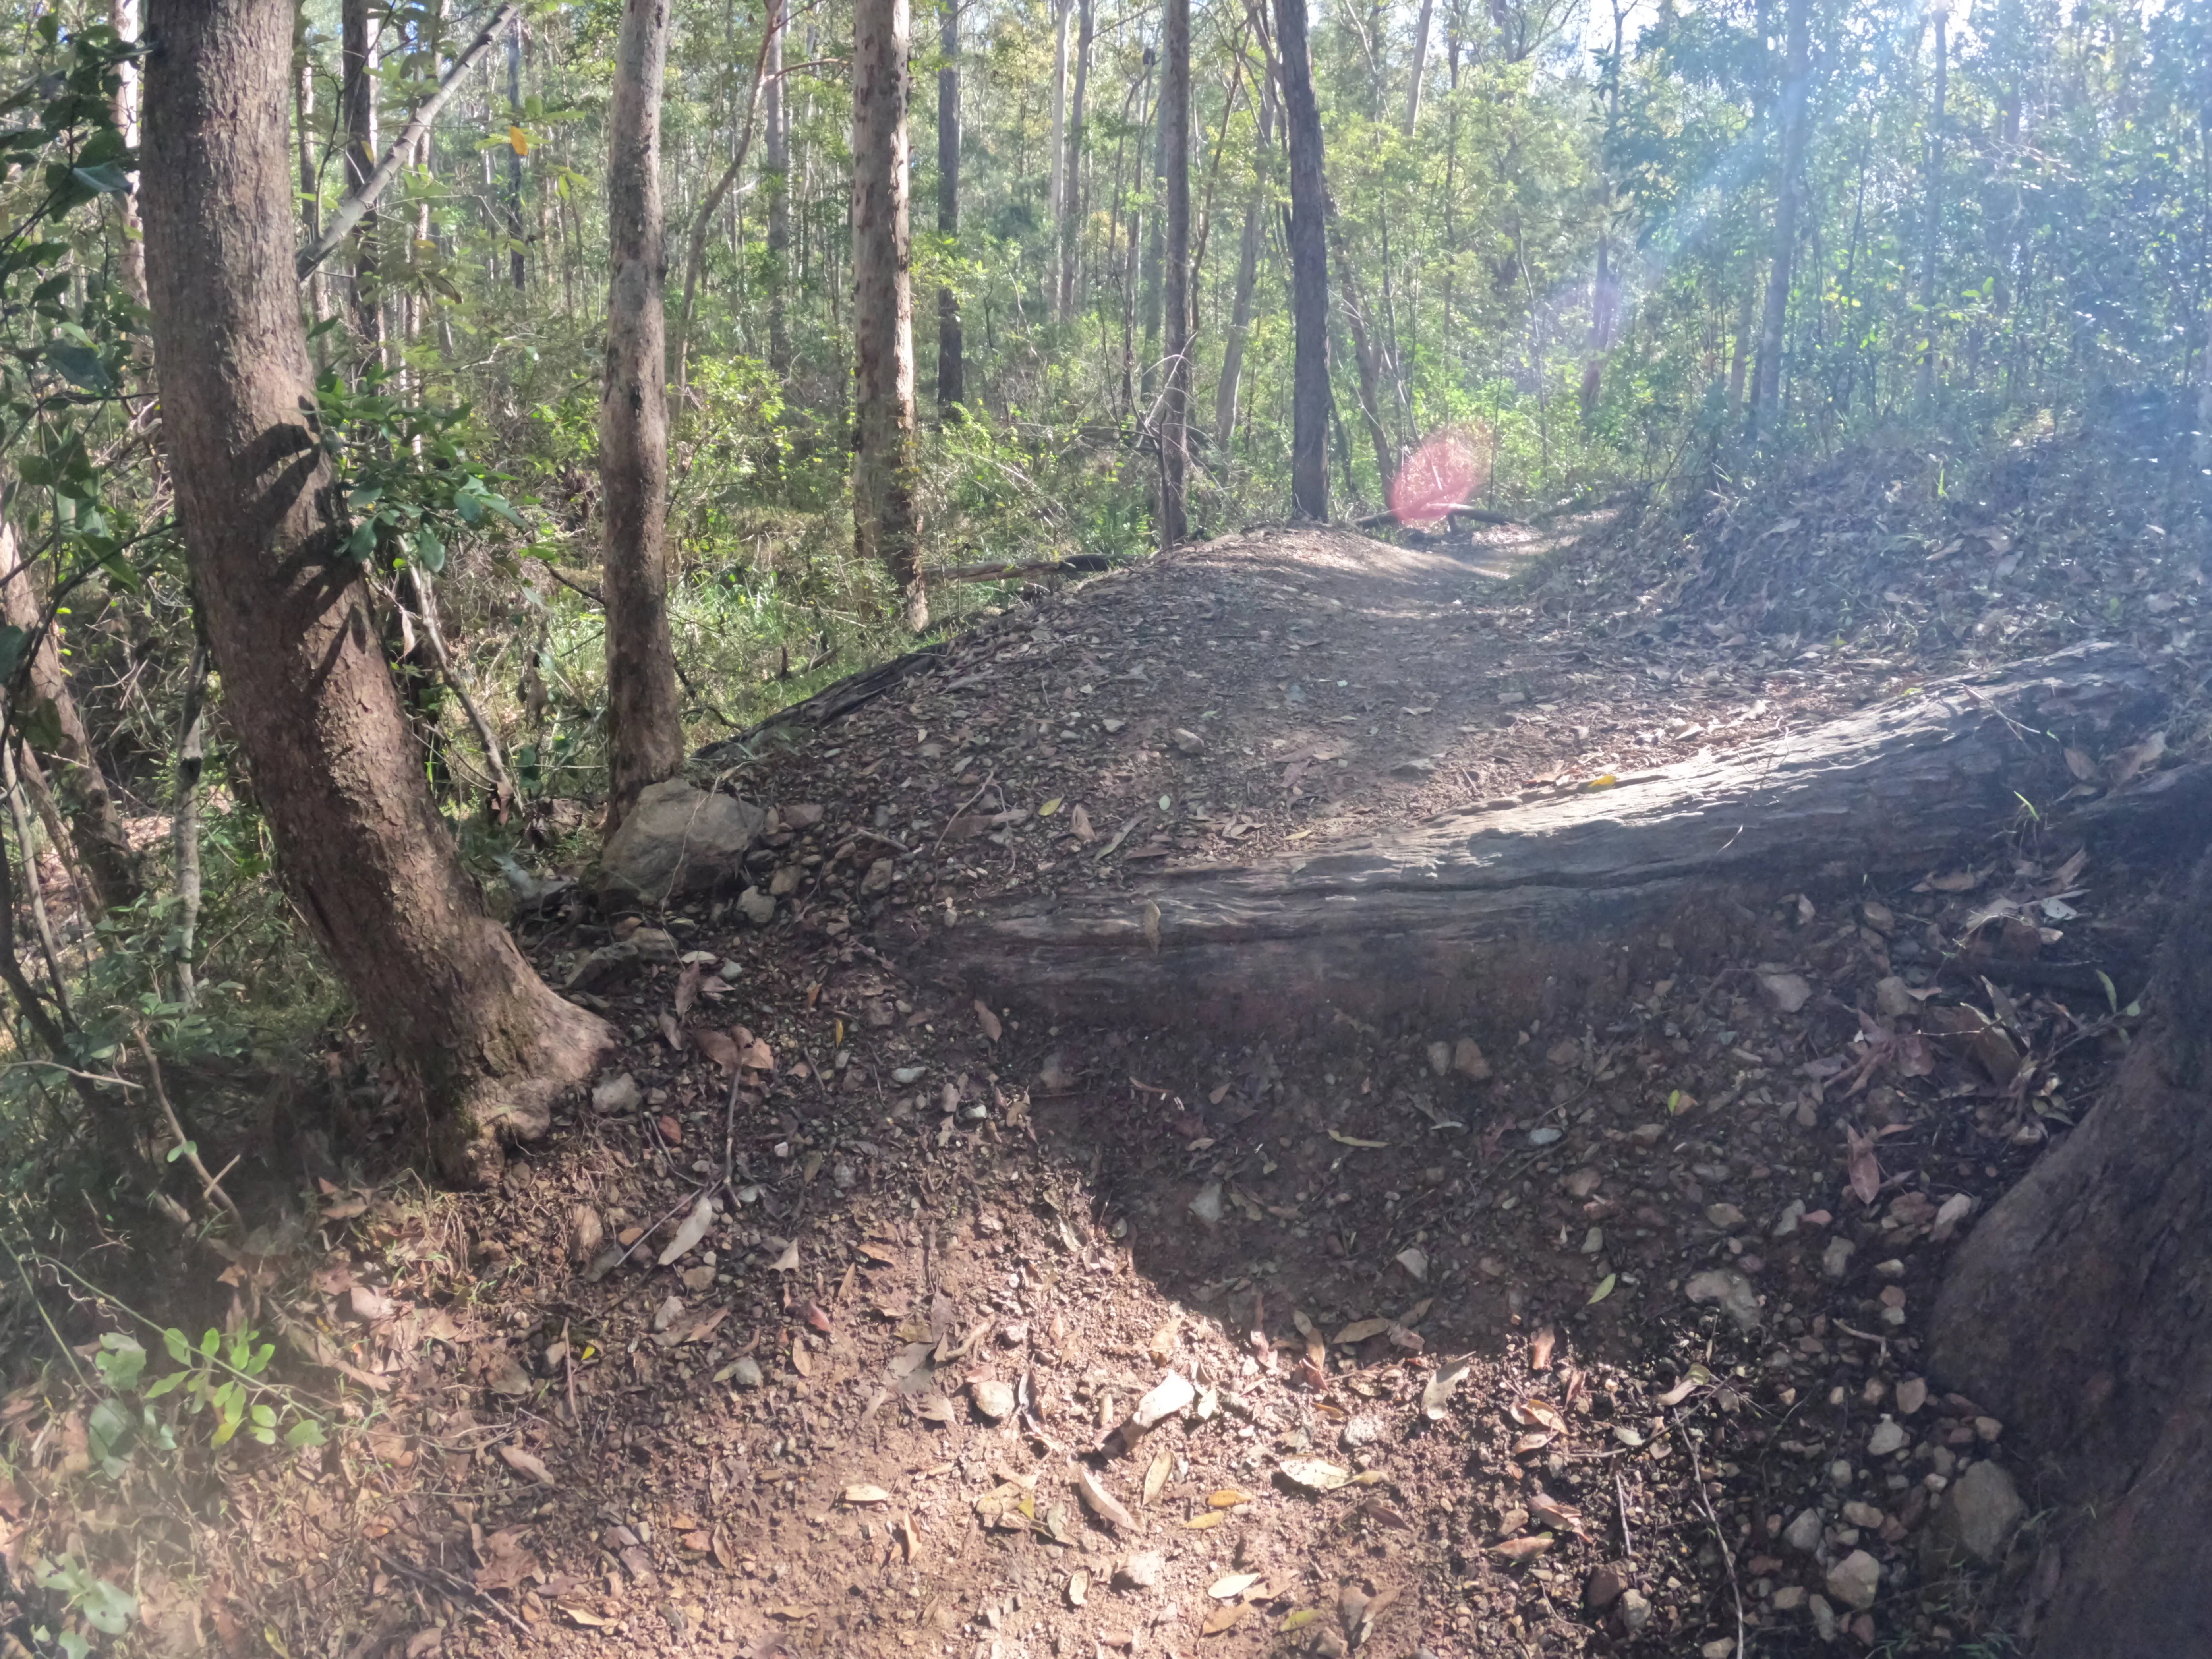
It has numerous issues, namely:
- Lens flare (red + blue dots/line in top right)
- Glare from sun causing top right to have a blue tint
- Cast shadows from the sun.
All of these artefacts will show up in the model unless you do something about it - trees will have blue spots in them, shadows will be baked into the model. This is not really that great.
Overcast days
What we really need is an overcast day. It is well known in the Photogrammetry community, that overcast days are the best days for scanning.
An overcast day provides the best lighting for 3D scanning, because nothing casts a hard shadow and there is no direct sunlight to cause lens flares or glare.
The only problem is that we can’t just wait around for a overcast day. So what can we do?
21st Century Technology
The answer is simple: just remove the shadows ourselves.
No, I’m not talking about sitting there for hours in Photoshop.
I’m talking about having a maching learning model identify and remove them for us. (Yes this is a form of AI, but that word has become so tainted I prefer to use the term machine learning).
For example, you can simply ask ChatGPT or Gemini to remove the shadows for you, and they will do an exceptional job of this:
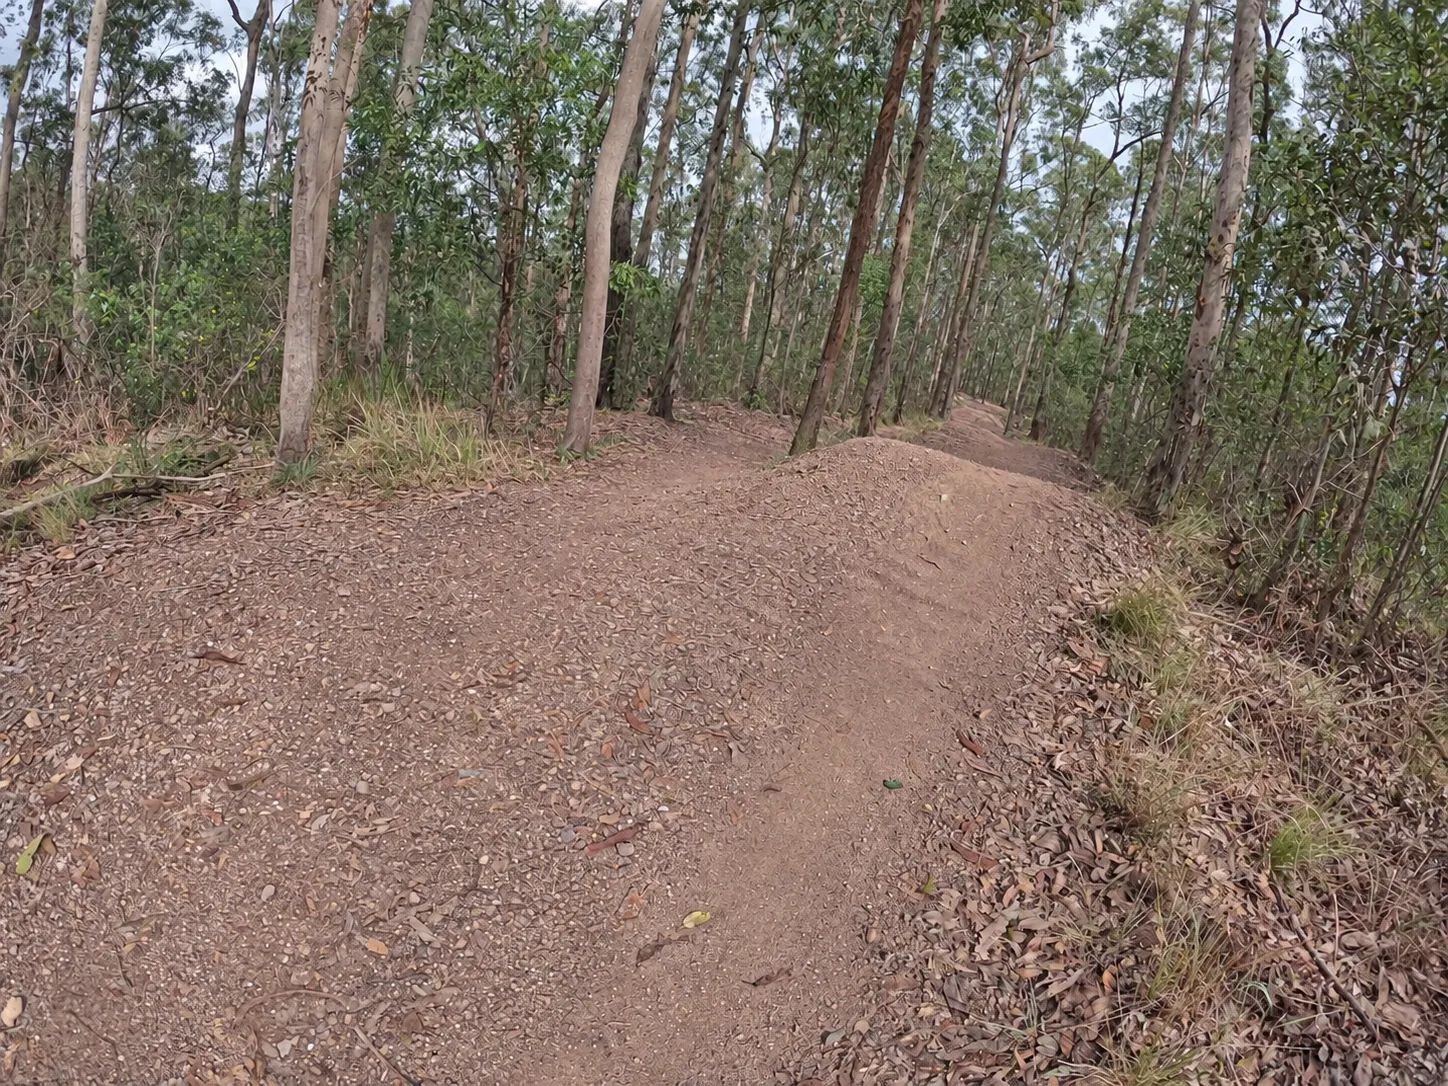
Take a moment to appreciate just how amazing that is. It is able to, without any hallucinations, correctly identify and remove shadows in an arbitrary image of a complex scene.
There is one problem here though, this is ChatGPT, a paid closed source service. We need something open source that we can use locally, forever.
Exploring open alternatives
There have been various projects in the past that have attempted to build a direct shadow removal neural network (see ShadowFormer, DC-ShadowNet for example).
After testing, however, I found that none of these work in our scenario - I suspect because we have very complex shadows and terrain. Instead of just one cast shadow, there are multiple cast shadows from multiple objects (trees, etc), some shadows are fuzzy (e.g. tree canopy leaves), and there are a lot of small shadows (e.g. from rocks/sticks on the ground). You get the point, these models are not smart enough for our task.
So I tested further, and found that bigger models that understand images (for example, StableDifussion, Flux.2, Qwen Image) are able to do this to an extent, but would often hallucinate some parts, or would not fully grasp the type of shadows we want to remove.
At the moment we have a large/paid model that is very good (ChatGPT, Gemini, etc.). We can get this to output “teacher” images, and then use this to train a smaller “student” model on what is the right thing to do.
As the adage goes, A image is worth a thousand words. We can’t describe with the English language exactly what to remove, but if we give it a before vs after of shadows removed - then that is the best way to teach it what to do.
Training our own de-shadow model
Choosing a base model
First I need a base model, something which someone has already done the hard work of training. After testing various models, the only one that I could get to work that was a right fit of size vs quality was Flux.2 Klein 4B.
The 4B in Flux.2 Klein 4B stands for 4 Billion parameters, a measure of how complex a model is. For reference, while it is not known publicly, ChatGPT and other LLMs are assumed to be in the trillions of parameters. (Also, if you weren’t aware, Klein is the German word for small).
However, this is still not small enough for my measly 8GB GPU. We need to go further - quantisation. Quantisation is where you reduce the numerical precision of a model, akin to “shaving off” bits of it to make it more lean/smaller (at the risk of losing a bit of “knowledge”).
By combining all these strategies, and a few more:
- Using a smaller model (4 billion parameters)
- Using the quantised version
- CPU + RAM offloading from the GPU (slower, but allows you to have more memory)
We are just able to get this running locally, at about 30 seconds of compute per image.
Fine tuning
First, I got ChatGPT to generate a set of 50 before vs after de-shadowing, using it’s propietary internal image model. Here is a sample:
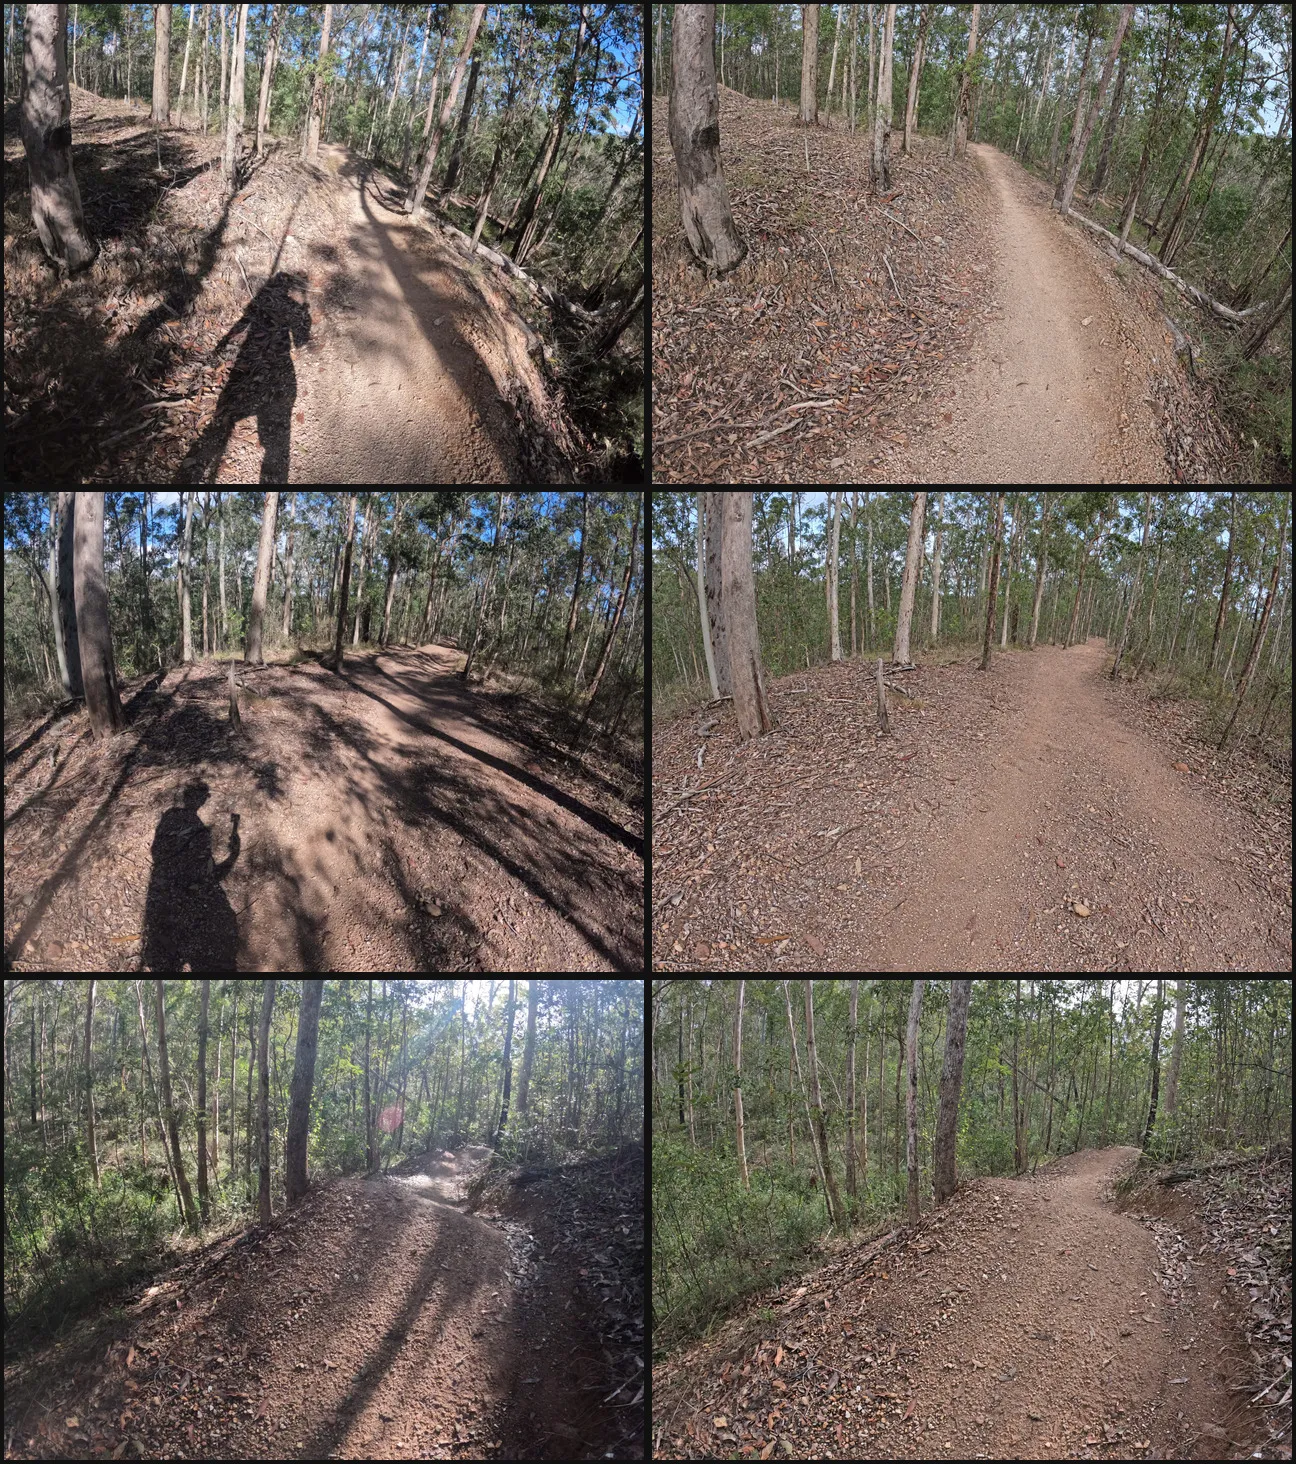
Then I used RunPod to rent a high powered GPU (this is only required for training) and trained my own, smaller machine learning model using as the base.
A LoRa was then attached to the “top” of the base model, this is the process we can use to teach it things specifically for our use case.
After iterations of this, we then get a really good output, using fully open source weights and models:
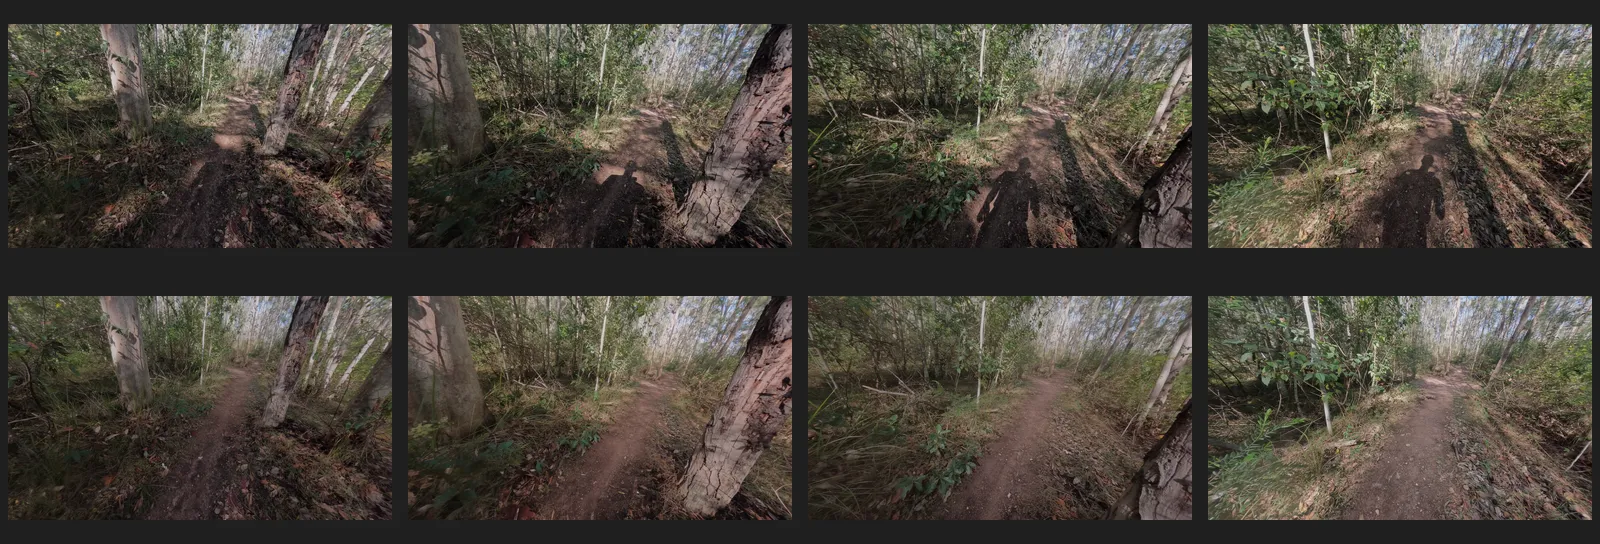
Using it in practice
For a standard 1km trail, there are about 10k photos. But only 1/3 of these are actually used while texturing (since many overlap).
So for 3k photos, at about 30s per photo, it means about 25 hours of processing. Alternatively if you want to pay a bit, you could rent a cloud GPU via a service like RunPod and upload the weights
Regardless, the weights and model are open source and free to download. Use them yourself or upload to a high powered machine - I don’t care.
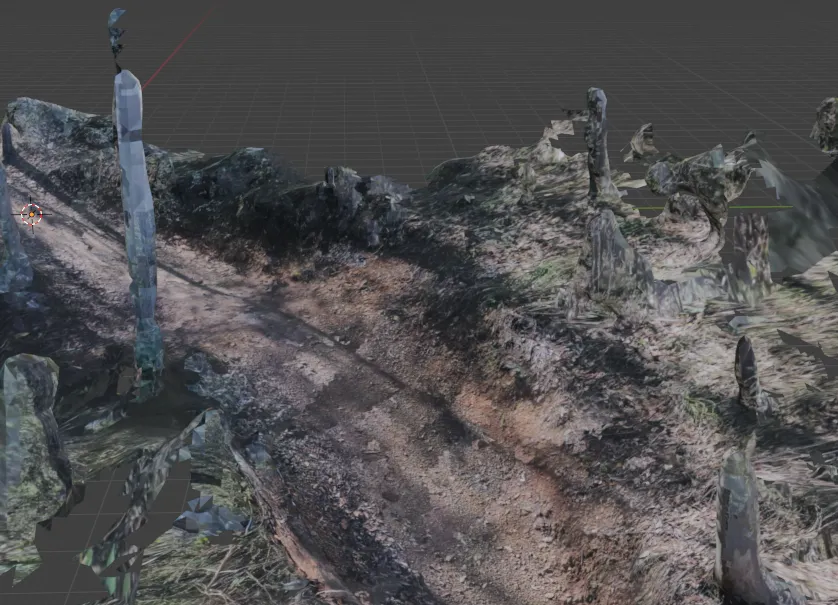
After all this work, we get something that before looked like this:
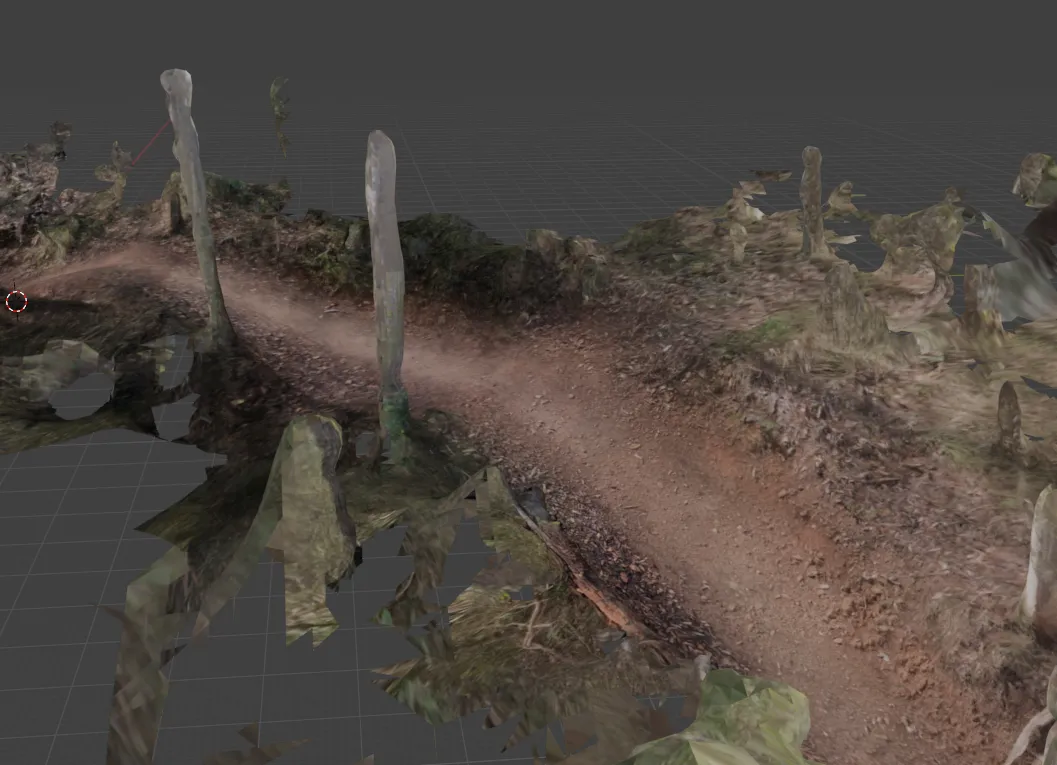
Now looks like this - a million times better:
Where to from here
As mentioned, this is the last step in the process to create the 3D models. From here, it’s just a case of setting up the web page side of it; the viewer.
Also, the model weights will be released with the codebase. This will be coming in the next few weeks.